
We are always looking for new, reliable home heating systems that will suit your budget in the long run. However, as underfloor heating has become increasingly popular in recent years, understanding components like the underfloor heating insulated pipe distance from the wall becomes important. In this article, we will explore the importance of underfloor heating pipe spacing distances, and why a proper piping layout for your underfloor heating will ensure an accurate performance.
Key points:
- The significance of pipe spacing, and how it can impact heat distribution, overheating prevention, and structural safety.
- What pipe measurements and centres and needed for different home types.
- How you can integrate smart thermostats and wall heaters with underfloor heating.
Pipe Distances for Underfloor Heating
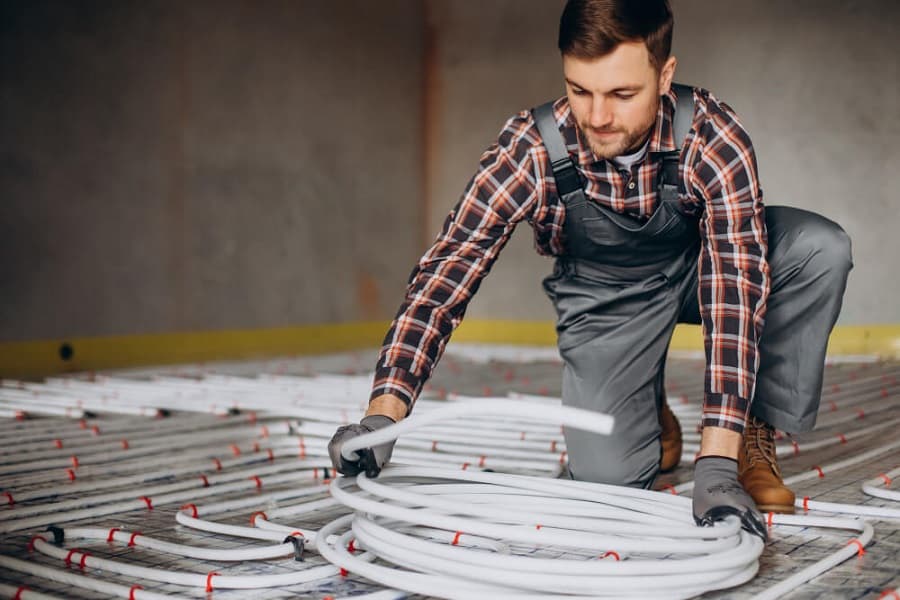
Underfloor heating has become a technological marvel in 21st century homes, and it is only continuing to evolve to accommodate different styled homes and homeowners. Electric UFH and water underfloor heating are the go-to options. However, when installing underfloor heating, there are many factors to consider, including laying out pipe distances. The pipes play a crucial part in ensuring that the heat is distributed evenly across the floor. Their layout, length, and spacing determine how effectively the heat spreads, ensuring no cold spots or uneven warmth.
Significance of Proper Pipe Distances:
Maintaining the right underfloor heating pipe distance from walls and between individual pipes is paramount for several reasons:
- Even Heat Distribution: Proper spacing ensures that the entire floor surface heats uniformly, providing consistent warmth throughout the room.
- Preventing Overheating: If pipes are placed too close to walls or to each other, it can lead to localised overheating, which can be uncomfortable and potentially damage the flooring material.
- Structural Safety: Ensuring a safe distance from walls and other structural elements is crucial to prevent any potential damage or compromise to the building’s integrity.
What Are Pipe Centres?
The term ‘pipe centres’ for underfloor heating refers to the spacing between two adjacent heating pipes. Specifically, it’s the measurement taken from the midpoint of one pipe to the midpoint of another. Imagine drawing a line down the centre of one pipe and measuring the distance to a line drawn down the centre of the next pipe. This distance is crucial in determining the efficiency and effectiveness of the heating system. To visualise this, consider a diagram illustrating the distinction between 150mm pipe centres and 200mm pipe centres.
Distances for Laying Underfloor Heating Pipes:
When it comes to laying underfloor heating pipes, the distance between them plays a pivotal role in the system’s performance. We advise placing your pipes at intervals of either 150mm or 200mm, depending on the room’s requirements. For spaces with higher heat loss, such as conservatories, a 150mm spacing is ideal.
This closer arrangement requires more piping to span the floor area, but it ensures a higher heat output, compensating for the greater heat loss. We have a useful guide on how to install underfloor heating in a conservatory which you should check out if you are considering adding UFH to this space.
Conversely, in well-insulated rooms with less heat loss, spacing the pipes further apart at 200mm is a more efficient approach. This arrangement optimally heats the space without unnecessary energy expenditure. This will be particularly important if learning how to install underfloor heating in a loft, since heat rises which can also affect loft insulation.
Flexibility and Versatility in Underfloor Heating Projects:
Installing underfloor heating correctly depends on flexibility and adaptability, especially when it comes to the piping used. Plastic pipes, known for their flexibility, are often the material of choice over more rigid options like copper. Such installations require pipes to be arranged in specific patterns on the floor, which will later be covered, typically by screed. Some may ask, how long does screed take to dry, which you can also find out now.
Most underfloor heating systems adopt one of two primary pipe layouts: serpentine or counterflow. Regardless of the chosen pattern, the pipes need to be sufficiently flexible to navigate multiple tight bends, especially given the typical underfloor heating pipe distance from the wall and between pipes of 150mm or 200mm.
Recommended Pipe Distances from Walls:
When installing underfloor heating, one of the critical aspects to consider is the distance of the pipes from the walls. The distance isn’t compulsory; it’s based on a combination of factors that ensure the best heating performance and safety for your home.
General Guidelines:
Typically, the pipes should maintain a certain distance from the walls to ensure even heat distribution across the floor. This distance ensures that there’s no excessive heat buildup near the walls, which could lead to uneven heating or potential damage to wall structures or finishes.
Factors Influencing Pipe Distances
Several factors can influence the recommended pipe distances:
- Type of Flooring: Different flooring materials have varied heat conduction properties. For instance, tiles might distribute heat more evenly than wooden floors, influencing how close pipes can be to walls.
- Room Size: In larger rooms, heat distribution needs might differ, potentially requiring adjustments in pipe layout and distances from walls.
- Insulation: Well-insulated rooms might not need as much heating, allowing for more flexibility in pipe placement.
- Heating Requirements: Rooms with higher heat loss, like conservatories, might need pipes closer together for higher heat output, affecting their distance from walls.
- Potential Risks: Not following the recommended distances can lead to several issues. Overheating near walls can damage wall finishes, cause structural issues, or even pose fire risks. Uneven heating can lead to cold spots in the room, reducing the system’s efficiency and comfort.
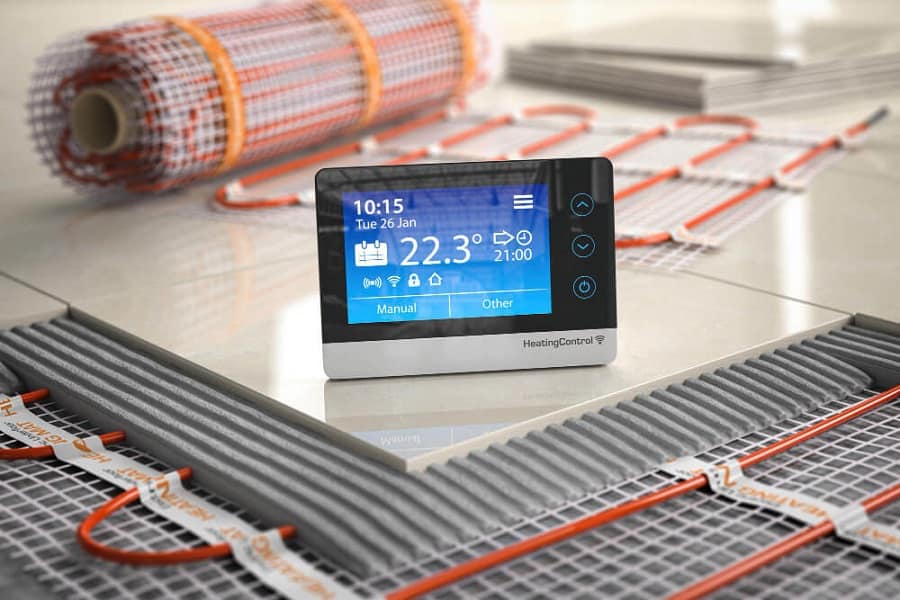
Smart Thermostats and Heating:
Smart thermostats and heating controls not only allow users to set precise temperatures but also learn from user habits, too, ensuring better heating while conserving energy. They can adjust heating based on external factors like weather or occupancy, ensuring comfort while being energy-efficient.
How Do Wall Heaters and Underfloor Heating Work Together?
Marrying wall heaters and pipes together might seem complex, given their different temperature requirements. One straightforward approach is to design the radiators for a standard flow temperature and share the same feed from the boiler for both systems.
The underfloor heating then uses a blending valve to lower its temperature. Alternatively, one could set the boiler at a lower temperature and use oversized radiators to compensate. Adding wall heaters and underfloor heating together will certainly work well for homeowners that are unsure whether to have one or the other.
S-Plan or Y-Plan?
For optimal control, the S-plan is recommended, using two-port valves for boiler interlock and control. This approach is similar to controlling radiator heating and domestic hot water. Timing control considerations are essential, and using programmable thermostats for each zone is ideal.
For systems with Thermostatic Radiator Valves (TRV’s), it’s crucial to ensure an open or bypass zone to prevent closed TRV’s with an active boiler. We offer a Honeywell reliance motorised 2 port valve which will perfectly do the job here.
Integrate Pipe Spacing for Efficient Home Heating
Understanding the importance of underfloor heating pipe spacing and distances from a wall is paramount for optimal home heating. Modern innovations, including smart thermostats and wall control systems, have revolutionised how we manage warmth in our spaces. As you embrace energy-efficient solutions such as underfloor heating in your home, you should ensure to maintain proper pipe distances and integrate advanced wall heaters with underfloor systems which are key to achieving comfort, sustainability, and efficiency in your home.
No matter the size of your home, we cater services for your every need.
FAQs
What is a pipe-wall distance?
Pipes should be 100 mm from walls.
How long should each pipe loop be?
Pipes are marked every metre for easy loop length checks. Note each loop’s length for flow gauge adjustments. Maximum loop length is 110 m.
What is the heat output?
Screed floors have a max output of 100 W/m^2, while timber and floating floors offer 70 W/m^2. With better insulation in new buildings, many now require below 60 W/m^2. For small bathrooms, warm water towel rails provide extra heat.